



Three-Pad T-Bridge Wearable Couples Vibrator with Compact Remote
August 14, 2026
Tri-Zone Remote Wearable Bead-and-Pad Vibrator
August 14, 2026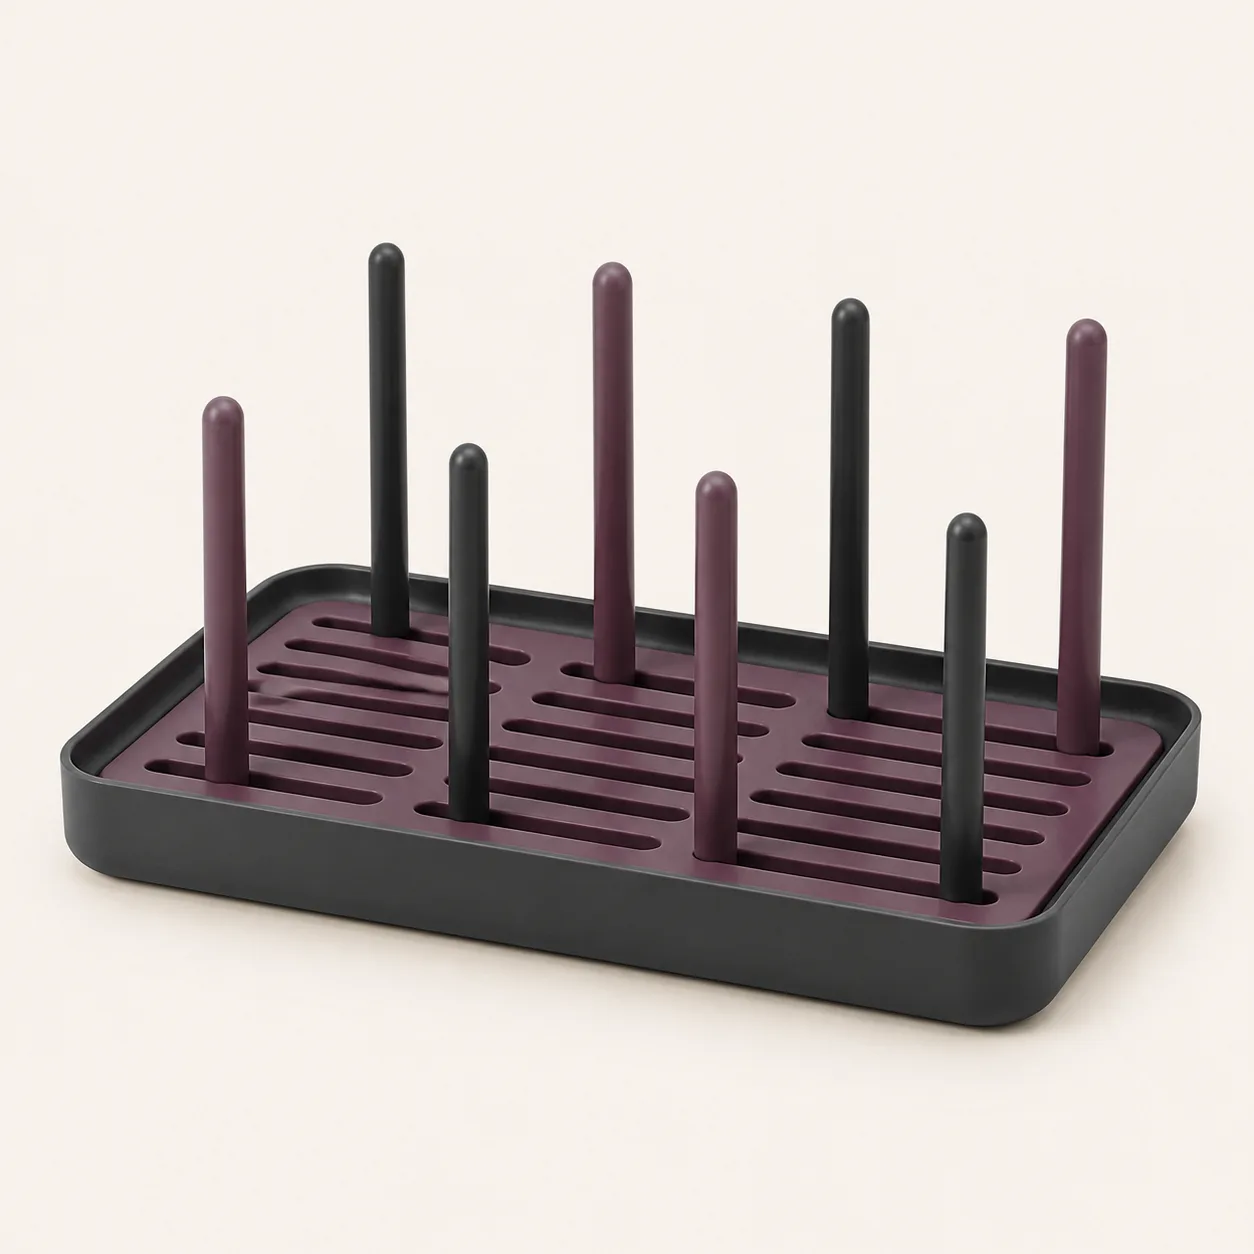
Care-Accessory Air-Drying Rack with Removable Drip Tray
An eight-peg air-drying rack concept with a slotted insert and removable drip tray for compatible adult-care accessories after verified washing and rinsing.
24,99 $
200 in stock
A dedicated rack separates air-drying from the sink edge
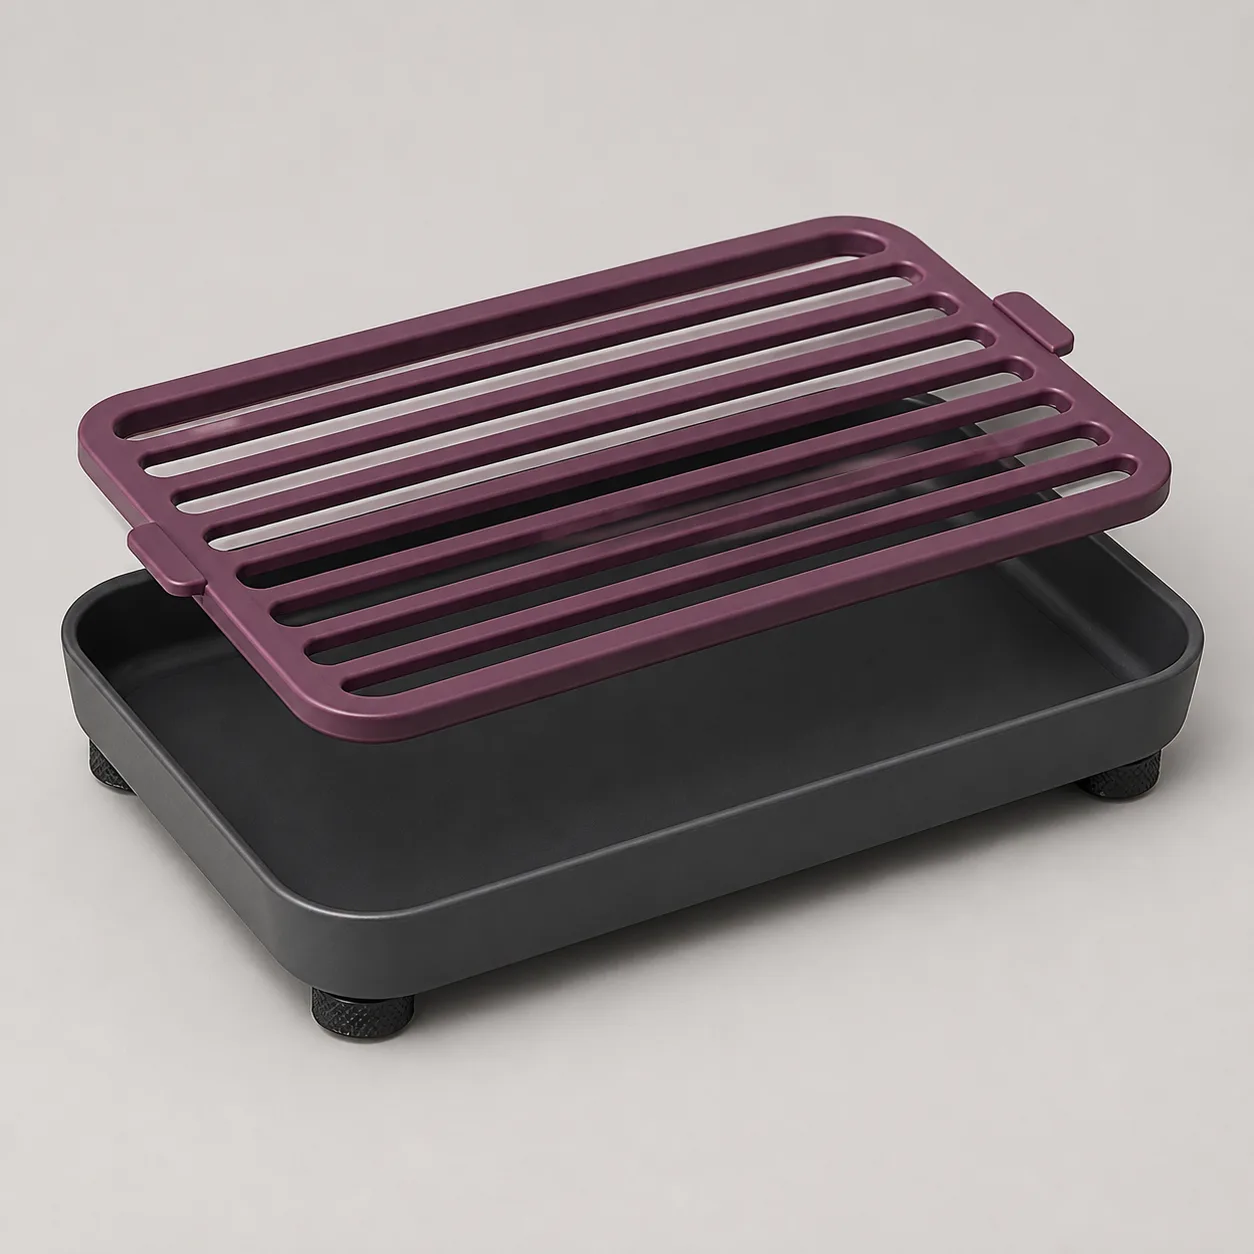
This care accessory air drying rack concept combines eight spaced pegs, a slotted insert and a removable drip tray. It is planned as a temporary station for compatible adult-care accessories only after their own verified washing and rinsing process is complete.

The rack does not wash, disinfect, sterilize or prove that an accessory is ready for storage.
Confirm that peg drying is permitted for each accessory
Read the item’s care instructions before placing any opening or surface over a peg. Some geometries, coatings, motors, charging points, seams or internal cavities may require a different orientation or drying method.
Do not stretch an opening, support an item by a delicate edge or place powered equipment on the rack unless its instructions explicitly permit that arrangement.
The visualization establishes no food-grade or antimicrobial claim
The colors and satin surfaces in the image are a catalog concept only. They do not confirm polymer type, chemical resistance, non-porosity, heat tolerance, dishwasher use, sterilization suitability or microbial performance.
Approve materials and cleaning compatibility from production documents and sample trials.
Measure contact openings, peg spacing and wet mass
Record the smallest internal opening, deepest cavity, external width and wet weight of every proposed item. Compare these with confirmed peg diameter, height, spacing, attachment strength and rack load.
A peg that enters easily can still create pressure, trap moisture or shift the center of gravity.
Choose a clean airflow zone away from splash and clutter
Place the empty rack on a verified level counter outside the sink splash line, toilet area, floor traffic, open window debris and cleaning-chemical storage. Leave clear space around all sides and above the tallest planned item.
Do not cover the loaded rack or place it inside a closed cabinet while moisture remains.
Inspect the tray, insert and every peg before a cycle
Separate the components and check for cracks, sharp molding, loose pegs, distorted slots, trapped residue, discoloration and persistent odor. Reassemble on the level test surface and press only through the supplier-approved check points.
Withdraw the rack if a peg tilts, the insert rocks or the tray no longer sits flat.
Prepare the rack with its own verified cleaning process
Clean and rinse each component using the approved agent, cloth, water quality and contact time. Keep cleaned parts off unverified towels and counters while reassembling the station with clean hands.
A recently washed accessory should not touch a rack that still holds residue from an earlier cycle.
Run a one-item orientation trial first
Place one compatible empty test item over the selected peg without forcing it. Observe contact area, deformation, balance, clearance from the insert and whether the opening faces a direction that permits drainage and airflow.
Remove the item if it leans into another peg, seals around the base or places weight on a sensitive surface.
Keep every item separated and visible
Add only items that have completed the same controlled care stage, leaving open space between them. Arrange taller or heavier pieces where the verified base stability is strongest and keep the tray perimeter observable.
Do not stack parts, nest hollow components or mix unwashed, rinsed and dry items on one rack.
Manage collected water before the tray reaches capacity
Inspect the drip tray from the side without moving loaded pegs. If water approaches the documented limit, unload items through the clean handling sequence before removing and emptying the tray.
Do not slide a full tray beneath unstable items or pour collected water across the insert.
Use inspection rather than a fixed drying time
Ambient humidity, cavity depth, orientation and material all affect drying. At the approved check interval, inspect seams, hollows, contact points and the underside without contaminating cleaned surfaces.
Elapsed time alone does not establish dryness, especially where a peg blocks airflow inside an opening.
Move dry items directly to their clean storage zone
Once each item passes its own dryness inspection, handle it with clean dry hands and transfer it to the assigned ventilated or closed storage specified by its instructions. Do not use the rack as permanent display storage.
Record any unexpected odor, residue, tackiness, swelling or color change before the next cycle.
Clean the insert and drip tray as separate components
After unloading, remove standing water through the planned disposal route. Wash the tray, insert and pegs so slots, corners, peg bases and underside surfaces receive the required contact and rinse.
Do not rely on visible drainage lines as evidence that hidden junctions are clean.
Dry and store the empty rack without trapped surfaces
Position disassembled parts so air reaches the tray interior, insert slots, peg bases and all undersides. Reassemble only after the dryness check, then store in a clean zone protected from splash, dust, compression and unrelated objects.
Withdraw components after cracks, sharpness, loose pegs, staining, warping, retained moisture, residue, color transfer or persistent odor.
Sourcing must compare peg geometry and packed volume
A Henan Zlovy Import And Export Trade Co., Ltd. countertop bottle-rack listing with removable drip tray shows USD 2.80-6.13 per set with MOQ 1. That reference does not confirm this planned eight-peg layout, dimensions, materials, load, item compatibility, drainage, airflow or cleaning process.
The procurement reference is for inquiry only. The EUR 24.99 plan accounts for China-origin volumetric freight, component and edge inspection, peg-fit and staged-load trials, stability and drainage checks, cleaner testing, protective packing and discreet fulfillment; packed size, mass, freight, duty, tax, insurance, payment fees and destination terms remain pending.
Frequently asked questions
Does the rack clean or sterilize accessories?
No. It is only a proposed air-drying station after the item’s verified washing and rinsing process.
Can every accessory be placed over a peg?
No. Care instructions, opening size, contact surface, mass and orientation must all be compatible.
How long does drying take?
No universal time is claimed; humidity, geometry, materials and airflow require item-specific inspection.
Can wet and dry items share the rack?
No. Keep care stages separated and move fully checked dry items to their assigned clean storage.
May the tray be emptied while items remain loaded?
Only if a validated design and handling trial permits it; the planned default is to unload safely first.
When should the rack be withdrawn?
Withdraw it after cracks, sharpness, loose pegs, rocking, staining, warping, retained moisture, residue, color transfer or persistent odor.

Reviews
There are no reviews yet.